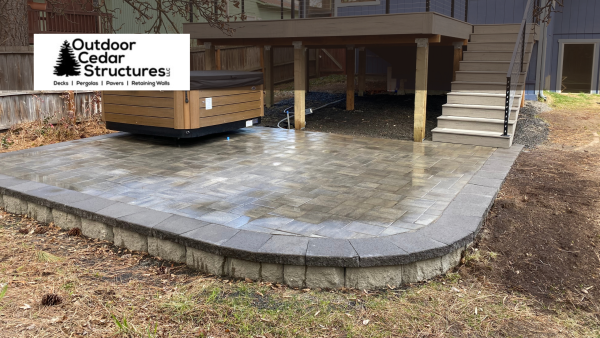

If you’re considering building a patio using interlocking pavers, you make a great choice. These pavers brilliantly combine aesthetics with functionality.
They’re highly durable and resist cracks, fading, and weather extremes. They’re also low-maintenance and designed for adequate water drainage, with textured surfaces that minimize slip hazards.
They also offer various customization options to create a space that perfectly complements your home’s style.
Wondering about how to build a paver patio? We’re here to answer your questions with a step-by-step guide.
Later in this blog, we’ll also discuss how much a paver patio costs so you don’t have to look elsewhere for answers.
Let’s dive right in!
How to install a paver patio
Building an interlocking paver patio involves several steps that require meticulous planning and execution. While you can install interlocking pavers yourself, hiring professionals for longer-lasting results and more complex designs is best.
Expert installers can bring valuable expertise and design insight to your project. They can prepare the base properly for optimal drainage, create eye-catching layouts, and complete your project faster — all with minimal material waste and within budget. The assurance of a warranty on professional work can also give you peace of mind.
When you work with a member of regulating organizations such as the Interlocking Concrete Pavement Institute (like our team here at Outdoor Cedar Structures LLC), you expect a patio that looks great upon completion but stays that way for years to come.
Pre-installation steps
1. Choosing the right installers
The first critical step is selecting skilled contractors. Check their portfolio to determine if they have extensive experience with interlocking paver installations.
The right professionals will guide you through the planning phase, material selection, and installation process. They can also ensure that the project adheres to local regulations and standards.
2. Confirming the paver pattern, colors, and edge cuts
Please make sure to finish the details of your project with your contractor before any physical work begins. This means deciding on a paver pattern and color that best complements your outdoor space’s aesthetic and functional requirements. It would help if you also discussed edge cuts (especially for patios with irregular shapes or specific design features).
3. Delivery and setup
Your contractor will coordinate the delivery of materials (such as pavers, crushed stone, and bedding sand), so you don’t have to worry about anything.
However, as a homeowner, you must delegate a suitable area for these materials to maintain local traffic and your neighborhood’s guidelines.
You may also need to help the contractor mark underground utilities to prevent damage and point out any hidden obstructions (such as lawn irrigation pipes).
If the project includes your driveway, you can plan for alternative parking to avoid inconvenience.
Installation steps
1. Site layout and excavation
The contractor will mark out the area and determine the sequence of work. They can efficiently plan paving direction for a smooth operation.
2. Soil subgrade preparation
This labor-intensive phase takes up to 70% of the installation time. It’s vital for supporting the base and distributing the load.
A good contractor will identify the soil type before giving you a labor estimate and timeline so you know what to expect.
3. Compaction
Proper compaction is critical to minimizing surface deformation during weather changes. Soil compaction increases loadbearing strength, reduces pavement settlement, and ensures uniform movement.
4. Surface grading
Proper drainage is crucial. The contractor will slope the area away from your house to prevent water accumulation.
5. Geotextiles (if necessary)
In some cases, laying geotextiles over the subgrade can prevent the upward migration of soil fines and help maintain the base’s integrity. Your contractor will let you know if your project needs this.
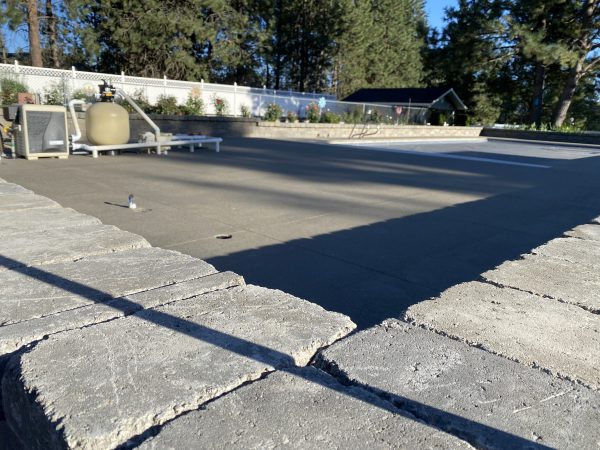
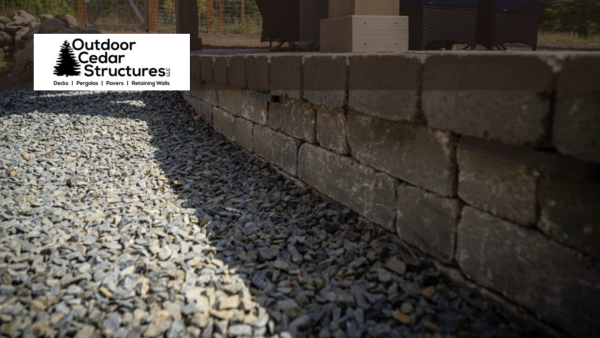
6. Base thickness and edge restraints
Following the recommended base thickness is essential for the durability of your interlocking paver patio, and edge restraints are necessary to prevent the pavers from shifting over time.
7. Bedding sand
Your contractor will spread a layer of bedding sand over the base at a consistent thickness (between 20 mm and 40 mm, according to industry recommendations).
8. Cutting pavers and compaction
Professional contractors will need to cut pavers to fit your patio’s design. They will also compact the pavers before and after applying the joint sand so they interlock correctly. Expect some noise and dust during this process.
9. Paver sealing (optional)
Sealing the pavers can enhance their color and prevent staining, but it’s best done at least 90 days after installation.
How much does it cost to install a patio paver?
Many of our customers ask us: How much does a paver patio cost? Many factors can affect installation prices, such as the quality of the pavers and patio size. In our experience, most paver patio installations, including base prep, fall between $28 and $40 per sq ft. In any case, we promise transparency in our pricing. You can be sure there will be no hidden costs or surprises later.
Another question we always get is: Does a paver patio increase home value? The answer is yes—paver patios can be a good investment. They can enhance your property’s curb appeal and increase its value.
Aside from helping your home fetch a higher selling price, a paver patio can also help you sell your home faster when you put it on the market, especially if you live in an area with a high demand for outdoor living spaces.
You will likely recover most of the costs of paver installation and boost your home’s value simultaneously.
The difference between DIY and hiring a professional
Although many online resources teach you how to lay a paver patio, nothing beats the quality of a professional installation. DIY often involves uncertainty, not to mention the risk of making expensive errors. By choosing Outdoor Cedar Structures, you can avoid these concerns altogether.
Our experts will take the guesswork out of how to build a paver patio and handle everything for you. We’re fully certified to expertly install a variety of pavers—call (509) 329-6054 for a free design consultation with our experts in Spokane.